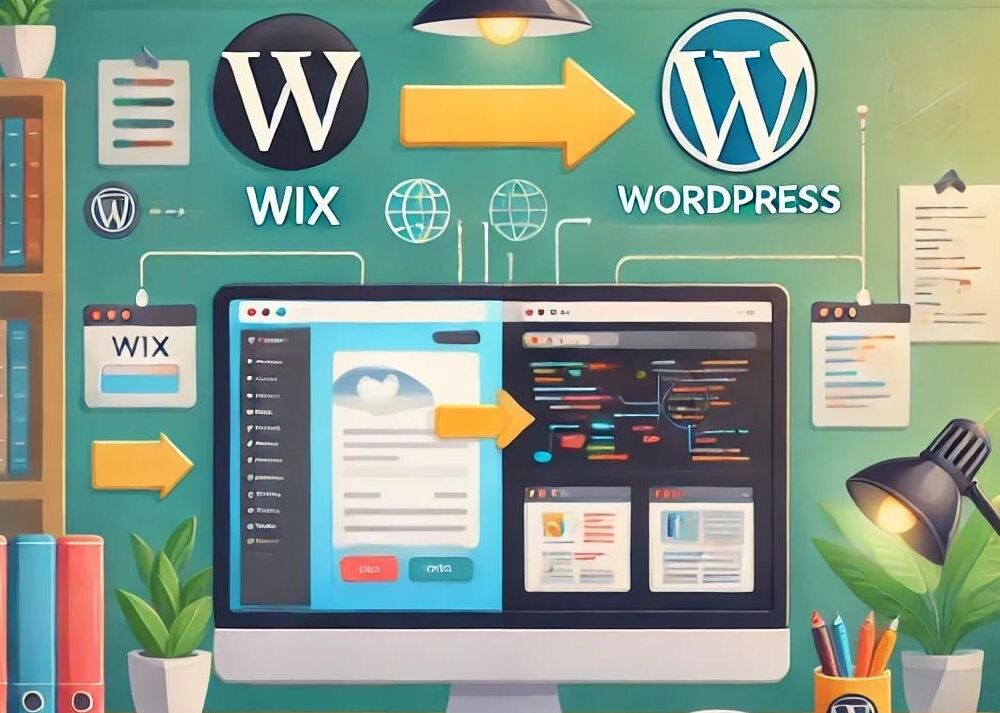
Migrating a website from Wix to WordPress can be a complex process that requires careful planning and execution to ensure a smooth transition. By following this comprehensive guide for Wix to WordPress migration, you can effectively migrate your Wix site, preserving your content, design, and functionality. This guide ensures that your Wix website's assets, including images and multiple additional functions, are properly migrated, allowing you to take full advantage of the capabilities of a WordPress site. Whether you are performing a manual hosting migration or using a Wix migration plugin, this document provides a detailed roadmap for a successful migration from Wix.
1. Preparation
1.1. Evaluate Current Website:
Review Content: Begin by listing all the Wix site content (pages, posts, images, etc.) on your current Wix website. This helps ensure nothing is missed during the Wix to WordPress migration process.
Functionality Assessment: Identify any special functionalities (e.g., forms, animations, e-commerce features) that your Wix site uses. This will help you recreate these features on your new WordPress website.
Backup Data: Ensure you have a complete backup of your Wix pages and website to prevent any data loss during the migration process.
1.2. Setup WordPress:
Choose a Hosting Provider: Select a suitable hosting provider that supports WordPress. Look for reliability, speed, and good customer support.
Install WordPress: Use the hosting provider's tools to install WordPress. Most hosts offer a one-click installation feature, making it easy to set up your WordPress site.
2. Exporting Content From Your Wix Website
2.1. Export Wix Content:
Static Content: Use the Wix dashboard to export your site's content. This may involve manually copying text and downloading images. Ensure that all elements, such as text blocks, headers, footers, and images, are systematically organized and saved. This thorough preparation simplifies the import process into WordPress and preserves the site's visual integrity.
CMS Content: For dynamic content like Wix blog posts, you may need to manually copy the content or use a third-party tool to export data as CSV files. This approach ensures that all blog entries, categories, and metadata are accurately transferred to your new WordPress site. Utilize tools that support mapping fields to corresponding WordPress attributes to maintain the content's structure and organization.
2.2. Export Images:
Download All Images: Download all Wix images from the site to ensure they are available for import into your WordPress site. Organize them in folders for easy access during the migration process.
3. Importing Content into WordPress
3.1. Import Static Content:
HTML to WordPress: Convert HTML files to WordPress pages/posts. This step is crucial for preserving the structure and layout of your original Wix site. Use a plugin like WP All Import to facilitate this process, ensuring a smooth Wix to WordPress migration. The plugin allows you to map HTML content accurately to WordPress pages or posts, minimizing manual effort and potential errors.
CSS & JS: Integrate custom CSS and JS into your WordPress theme to maintain the design and functionality of your original Wix site. This involves adding custom code snippets to your WordPress theme's style.css file and enqueueing JavaScript files via the functions.php file. Proper integration ensures that your site's visual appeal and interactive elements remain consistent with the original design.
3.2. Import CMS Content:
Plugins: Use plugins like WP All Import or WP Ultimate CSV Importer to import your CSV files into WordPress.
Mapping Fields: Carefully map Wix CMS fields to corresponding WordPress fields (e.g., titles, body content, categories) to ensure content is placed correctly on your WordPress website.
3.3. Import Images:
Media Library: Upload images to the WordPress media library. This step ensures that all visual elements from your Wix site are available and correctly displayed on your new WordPress site. Use a plugin like Add From Server if necessary to streamline this process, especially if you have a large number of images. This plugin simplifies bulk uploads and helps organize images efficiently, making them easily accessible for insertion into posts and pages during the migration process.

5. Functionality
5.1. Recreate Forms:
Form Plugins: Use plugins like Contact Form 7, WPForms, or Gravity Forms to recreate any forms from your Wix site. Customize them to match the original functionality.
5.2. Rebuild Animations:
CSS Animations: Use custom CSS/JS or page builder animations to replicate Wix animations. Ensure they work smoothly across different browsers.
5.3. E-commerce (if applicable):
WooCommerce: Install and configure WooCommerce to match the e-commerce functionality of your Wix site. Transfer product information and settings as needed.
6. Testing
6.1. Verify Content:
Check All Content: Ensure all pages, posts, and media are correctly imported and displayed on your new WordPress site.
6.2. Check Functionality:
Test Features: Test all forms, animations, and any interactive features to ensure they work correctly on WordPress.
6.3. Cross-Browser Testing:
Verify Across Browsers: Check your site's appearance and functionality across different browsers and devices to ensure a consistent user experience.
7. SEO and Redirects
7.1. SEO Setup:
SEO Plugins: Install and configure an SEO plugin like Yoast SEO or All in One SEO Pack.
Meta Data: Transfer SEO metadata from Wix to WordPress to maintain search engine rankings.
7.2. Set Up Redirects:
301 Redirects: Create 301 redirects for all old URLs to new WordPress URLs using a plugin like Redirection to ensure visitors and search engines are directed to the correct web pages.
8. Go Live
8.1. Final Review:
Perform Final Review: Conduct a thorough review of the site to ensure everything is in place and functioning correctly.
8.2. Update DNS:
Update DNS Settings: Update your Wix domain name's DNS settings to point to your new WordPress hosting. This step makes your new site live.
8.3. Monitor:
Monitor the Site: After going live, monitor the site for any issues and resolve them promptly to ensure a smooth transition.
9. Post-Migration Tasks
9.1. Backup:
Take Complete Backup: Take a complete backup of the new WordPress site to prevent data loss in case of issues.
9.2. Ongoing Maintenance:
Regular Updates: Regularly update WordPress, themes, and plugins to maintain site security and performance.
Monitor Performance: Continuously monitor site performance and security to ensure your website runs smoothly and safely.
Trust the Professionals at WP SitePlan to Migrate Wix to WordPress
If you want to ensure the highest level of expertise and support during this migration process, trust the professionals at WP SitePlan to convert Wix to WordPress. As a leading WordPress support provider and experts in Wix to WordPress migration, WP SitePlan offers the experience and knowledge needed to handle all aspects of your migration from Wix, ensuring a seamless and hassle-free transition. Contact WP SitePlan today to get started on your Wix to WordPress migration journey and take advantage of our top-notch migration services.


